Washing with Inks and Marking Time
October 30, 2010Tonight (well on Tuesday) I was introduced to line and wash and the use of markers for drawing.
First off markers:
I’d taken some photos of my rubber lizard on the weekend to assist me in drawing it. With photos, the lighting remains the same no matter how I twist and turn it. The actual object still came in handy for finer details not picked up by my low quality print out.
For much of my drawing tonight, I would be using the photos.
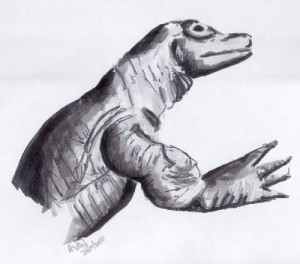
The technique I used for the first drawing (the head and neck, from the side) was to usee the N2 Copic marker (an uber expensive texta) to draw the outline and details, then after adding detail and shading with the darker colours, I filled it in and continued detailing with progressively using darker and darker markers (N4, 6, 8 and 10).
The next drawing (of the complete side) was done using the N2 marker to block out the shape entirely, and then I used darker markers to add detail and shading. I prefer the initial drawing’s outline technique as it seems to make the picture look a little less loose (though not by much).
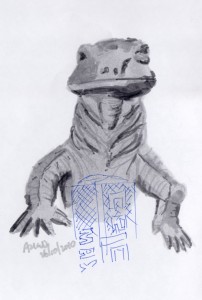
My third drawing was a full frontal of the lizard. This time, I draw shapes to block in the object: circles for the cheeks, triangles for the nose, sloping columns for the neck and rectangles for the legs. My assessment is much the same as for drawing two – it came out ok, but not as good as drawing number one.
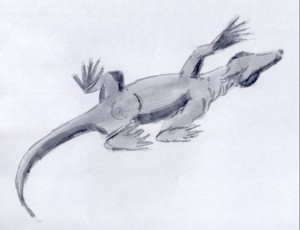
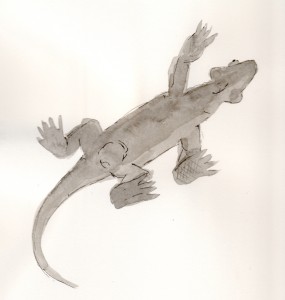
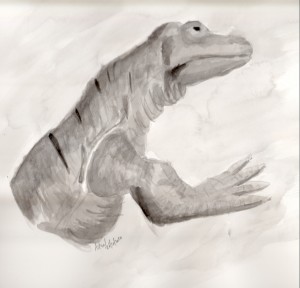
While waiting for my line and wash to dry, I dabble with a fourth marker drawing. Not much to say about that one, besides, I also reproduced it in line and wash.
Okay, on to the line and wash.
For my first ever go at using line and wash, I outlined my drawing very roughly using a uniball waterproof fine liner (0.1). This was the bare bones outline (pretty distorted) and some detail of skin. I then filled up a palette with water, whacked some ink in the middle, dipped my thicker bush in the ink, then a few water wells, then began to block in color. I rapidly decided to use a portion of my paper for testing the color before continuing with the drawing.
My technique was much the same as for textas – I applied the most diluted ink first then added darker shades. I went a bit overboard with skin folds, but apart from that, I think things turned out quite well for go number one. I’ll refine things on a new work later in the week.
So, four weeks down, 100 to go!
